

How to Properly Install and Set a New Clock Spring
Reviewed/Verified by:

The biggest mistake that an owner or mechanic makes when replacing a clock spring is that they fail to determine the clock spring’s middle (center). If the clock spring is not in the center, it will stretch the ribbon inside and break soon after installation.

In this article, we go over how to install a new clock spring properly. If you do not center the new clock spring, it will fail soon after it is installed. We see too many cases where an owner or mechanic replaces the clock spring, and within days or, in some cases, the new clock spring fails immediately. This, of course, leads to the airbag light coming on and a few other warning lights.

🔧 Find out what is actually wrong before you pay someone to guess
Dealer level diagnostics at home with the YOUCANIC UCAN-II Pro.
- ✔ Covers most makes and models, including many luxury brands. Send us your VIN and we will confirm your car before you order
- ✔ Reads every module, not just the engine, so you find the faults a basic reader says are not there
- ✔ Commands the car: test a fan or pump, bleed ABS, retract an electronic parking brake, register a battery
- ✔ No subscriptions. Free lifetime updates, so the price you pay is the whole price
- ✔ Backed by real mechanics in the USA you can email before and after you buy
Featured in The Wall Street Journal
Video

How to properly set a clock spring
Follow these steps to center a new clock spring.
- Make sure wheels are pointing straight forward.
- Remove the old clock spring from the vehicle. Most new clock springs come already centered and held by a locking pin, tab or sticker. If yours has one, leave it in place, install the clock spring, and remove the lock only once it is fitted; skip the counting steps below.
- Turn the clock’s inner part to the left without installing the new clock spring until you feel resistance. Do not push hard once resistance is felt.
- Turn the inner part of the clock spring to the right and count the number of full revolutions.
- In most cases, you will get five full turns. Divide the number you got by two. In this case, 5/2=2.5
- Rotate the inner part of the clock springs 2.5 turns back. This will set the clock spring in the center.
- Install the steering wheel.
Setting the clock spring (centering the clock spring) is simple and should be completed carefully. Note that some vehicles integrate the steering angle sensor into the clock spring. If your vehicle has an integrated steering angle sensor, you must reset the clock spring/steering angle sensor.
How to reset a clock spring?

Two ways exist to reset the steering angle sensor inside the clock spring. The first method is simple and does not require any tools.
- Start the engine and let it idle.
- Turn the steering wheel to the right.
- Then rotate the wheel to the left.
- Repeat this procedure twice while the engine runs.
- Drive for at least 50 feet, and the steering angle sensor will reset.
In most cases, this procedure will reset the clock spring and steering angle sensor and should turn off the ABS and stability control light.
If the procedure above does not work, you need an OBD-II scanner to reset steering angle. Connect the scanner in the DLC port under the dashboard and follow the screen’s instructions to reset the steering angle sensor.
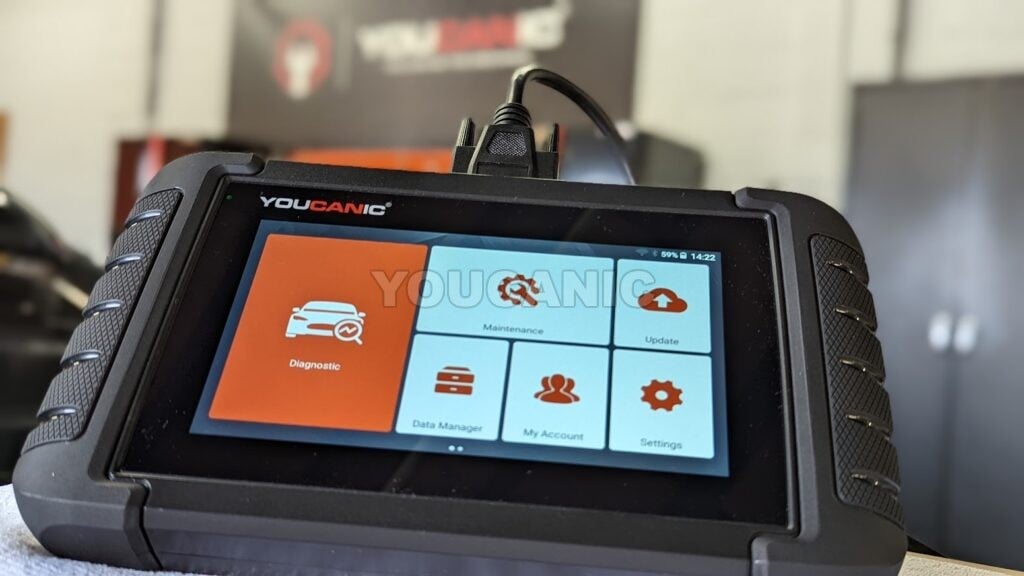
The YOUCANIC UCAN-II Pro can read and clear fault codes through every control module on supported vehicles.
At a Glance
- Wheels straight ahead before you remove anything.
- Most new clock springs come centered with a locking pin or tab; leave it in until installed.
- No lock? Turn it gently to one stop, count the turns to the other stop, then come back half way.
- Some clock springs include the steering angle sensor, which must be reset afterwards.
- Disconnect the battery and wait before removing the airbag.
- Cars with the steering angle sensor in the clock spring need a reset afterwards; a scanner such as the YOUCANIC UCAN-II Pro runs that calibration on supported models.
Does a new clock spring need to be programmed?
No, the clock spring itself will work without programming. If your clock spring has an integrated steering angle sensor, you may need to perform a steering angle reset and reset the stability control and ABS lights. Start the car and rotate the steering wheel to the left, then to the right several times. This will reset the steering angle sensor in most cars. If this procedure does not work on your vehicle, use a Multi-System OBD2 Scanner with SAS Reset Function.
My new clock spring broke right after I installed it
If your newly installed clock spring failed right after you installed it, you or your mechanic did not install it correctly. The clock spring was not set in the center, and the ribbon inside stretched too much and broke when you turned the steering wheel to full left or right.
See the instructions above on how to set a clock spring in the center.
Properly. Check these troubleshooting and repair guides for more help on your vehicle.
Frequently Asked Questions
How do I center a clock spring without a locking pin?
Turn it gently in one direction until it stops, count the turns to the other stop, then turn back half that number. Align the center marks before installing.
What happens if a clock spring is not centered?
The ribbon cable inside can stretch and break when you turn the wheel fully, causing an airbag light and dead horn or buttons.
Should I keep the wheels straight when replacing a clock spring?
Yes. Keep the wheels straight and do not turn the steering shaft while the wheel is off. For a model specific example, see our Ford Fusion clock spring guide.


(No subject)
Great article. I was able to install a used clock spring on my VW Jetta and has been working great. It’s been two weeks already no issue.